How to Migrate Virtual Machine from VMware ESXi to XenServer?
-
 19 July 2024
-
 Azure,Cloud Migration
 -
 Written by
Editorial Team
Written by
Editorial Team
Migrating virtual machines (VMs) from one hypervisor to another can seem daunting at the outset. However, with the right approach and meticulous planning, the process can be much more straightforward than anticipated. VMware’s shifting policies have left clients unsure of its future, encouraging them to seek alternatives. As a result, some are exploring XenServer, Citrix’s Hypervisor as a potential replacement.
The intended purpose of the software is the primary distinction between the two. VMware vSphere ESXi is designed exclusively for small and medium-sized businesses (SMBs) and is not structured for personal use. In contrast, Citrix XenServer can be utilized by both personal users and SMBs. The added flexibility makes it preferable to a wider range of users, giving it a slight edge over VMware.
Why Migrate from VMware to XenServer? Key Benefits and Considerations
The pursuit of optimal IT infrastructure often demands regular change. With the recent changes in VMware’s subscription policies, alternatives like XenServer are gaining more focus. Switching from VMware to XenServer might offer compelling benefits that better align with your organizational needs. Citrix Hypervisor provides a feature-rich environment with a free version that includes many of the capabilities that VMware often charges extra for. This section highlights some key points as to why making the switch could be a strategic move for your business.
- Cost Efficiency: XenServer offers a robust free version with essential features, while VMware ESXi typically demands expensive licensing for advanced features. The former’s licensing model can be more economical for scaling up environments compared to VMware’s subscription-based pricing.
- Open-Source Benefits: Citrix Hypervisor is built on the open-source Xen Project, providing a transparent and community-driven platform. This foundation allows for greater flexibility and customization in contrast to VMware’s closed-source solutions.
- Comprehensive Feature Set: Citrix Hypervisor includes features like high availability, live migration, and centralized management in its base edition – features that often require additional licensing with VMware. The XenCenter management tool also provides a comprehensive set of features for VM management and is included with Citrix Hypervisor.
- Performance and Efficiency: Citrix Hypervisor is known for efficient resource management and performance optimizations for virtual environments. It supports large-scale environments with features like dynamic memory allocation and resource pooling, which helps enhance both scalability and efficiency.
- Integration with Citrix Products: XenServer integrates effortlessly with other Citrix products like Citrix Virtual Apps and Desktops, creating a cohesive ecosystem for virtual applications and desktops. The benefits of the integration also reflect on administrative and user experiences, making it much easier to deploy and manage complex virtual environments.
- Security and Support: Citrix Hypervisor benefits from regular updates and security patches from both Citrix and the open-source community. They also offer robust support options and a range of support plans for a range of needs.
- Advanced Features in Free Edition: The free edition of Citrix Hypervisor includes advanced features like VM snapshot management and resource scheduling, which are typically available only in VMware’s paid editions.
How to Prepare for the Switch from VMware to XenServer: A Pre-Migration Guide
Proper planning and preparation are crucial to ensure a smooth and error-free transition from VMware to XenServer. This guide will walk you through how to prepare for the migration. From evaluating system compatibility to training your team, following these steps will set you on the express path for a successful migration to XenServer.
- Pre-Migration Checks: Document all VM configurations, including network settings and storage requirements. Check for any VM-specific applications or services that might need special attention. Ensure that your XenServer host has enough resources (CPU, memory, disk space) to accommodate the new VM, facilitating a hassle-free transition.
- Compatibility Check: Verify that the VM’s operating system and applications are compatible with XenServer. Additionally, confirm that any VMware-specific features or tools used within the VM will work in the XenServer environment.
- Update VMware Tools: Ensure that the VMware Tools are up to date in all VMs. This can help with compatibility during the migration process. Updated VMware tools ensure a smoother transition and minimize any issues during the VMware to XenServer migration.
- Shut Down the VM: It is generally recommended that the VM be shut down to ensure data consistency during export.
- Check VM Configuration: Confirm that the VM configuration is correct and verify that there are no pending changes.
VMware to XenServer: A Comprehensive Migration Guide
The VMware to XenServer transition involves several operation-critical steps for a successful transition. The guide detailed below provides a detailed roadmap for the migration process.
-
Exporting the VM from ESXi.
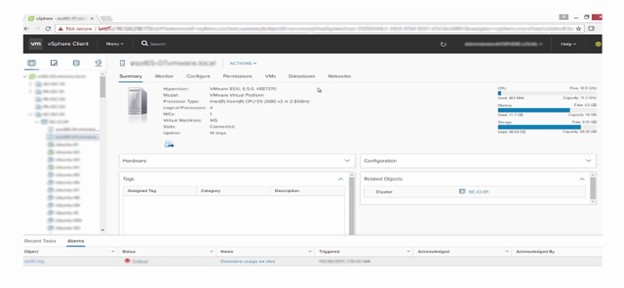
Open vSphere Client and connect to your ESXi host.
 Navigate to the VM you want to export. Right-click on the VM and select Export. Choose Export OVF Template. Follow the wizard to export the VM as an OVF/OVA file. Save the OVF/OVA file to the preferred location.
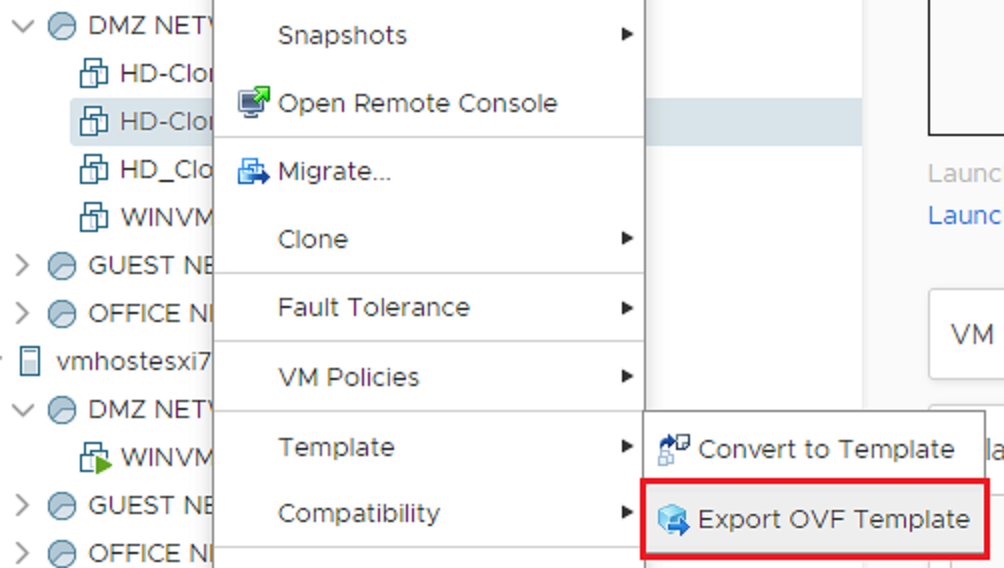
-
Importing the VM to XenServer
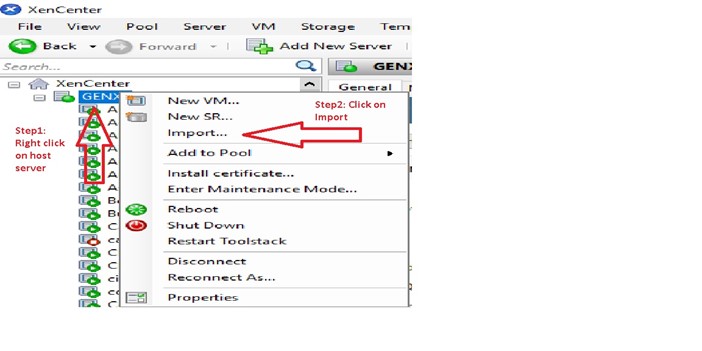
Open XenCenter and connect to your XenServer host. Right-click the XenServer host and select Import.
 Browse to the OVF/OVA File you exported from VMware ESXi.
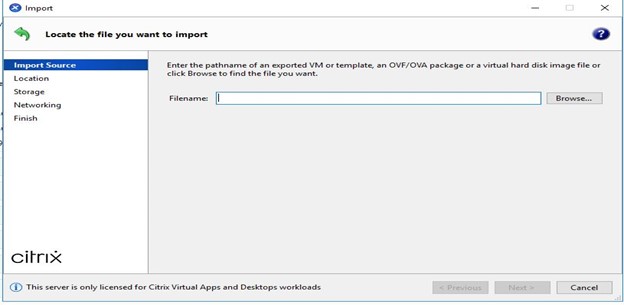 The Import Wizard will guide you through the import process. During this phase, you may need to configure essential VM settings like network configurations.
 -
Post-Migration Validation
This last step validates that the migration process has been executed successfully and your VM works as intended.
Power On the VM: Start the VM and verify that it boots up correctly.
Check VM Functionality:
- Verify that all applications and services are functioning as expected.
- Ensure network connectivity and correct IP address configuration.
- Confirm that any VMware Tools dependencies are addressed and consider installing XenServer’s Guest Tools if required.
Optimization and Final Steps
We recommend installing XenServer Guest Tools to boost performance and enhance integration features. Adjust the VM settings based on performance testing to ensure that CPU, memory, and disk configurations are fine-tuned for the XenServer environment. Finally, take a backup of the newly migrated VM to safeguard your data and configurations.
Apps4Rent Can Help with Your VMware to XenServer Migration
Migrating hypervisors can be a challenging endeavor that requires precise execution and deep knowledge of both environments. At Apps4Rent we provide expert support for your VMware to XenServer transition needs. As a Microsoft Solutions Partner and Tier-1 Azure CSP, our experts bring extensive experience with Microsoft Solutions and VMware migrations to ensure a smooth migration process.
We understand that each migration process is bound to be unique to the client and offer personalized support tailored to your needs. Whether you need assistance with technical aspects of the migration or require help troubleshooting, our proficient team will be there to guide you along every step of the way. Contact us around the clock by phone, text, or email so we can help you with your migration needs. You can count on us to help you seamlessly migrate to your preferred hypervisor platform.


