How to Enable Drive Redirection on Your Windows?
Hi there!
Thank you for choosing Apps4Rent. We hope you are happy with our services.
Some of you might need to access files on local drives of your Windows 10 computer on your virtual desktop. This guide will help you enable drive redirection to a hosted computer with Remote Desktop Connection.
Getting started with Drive Redirection
What will you need?
Please refer to our email with the subject line “Welcome Email.” This email to your registered email has the login information shared by Apps4Rent for easy access to Cloud Desktop. You can access information like
- Desktop Name/RDP Host Name/IP
- Username
- Password
Now that you have all the information you need, let’s get started.
Press the Windows button on the keyboard and type “Remote Desktop Connection.”
Select the “Remote Desktop Connection” icon.
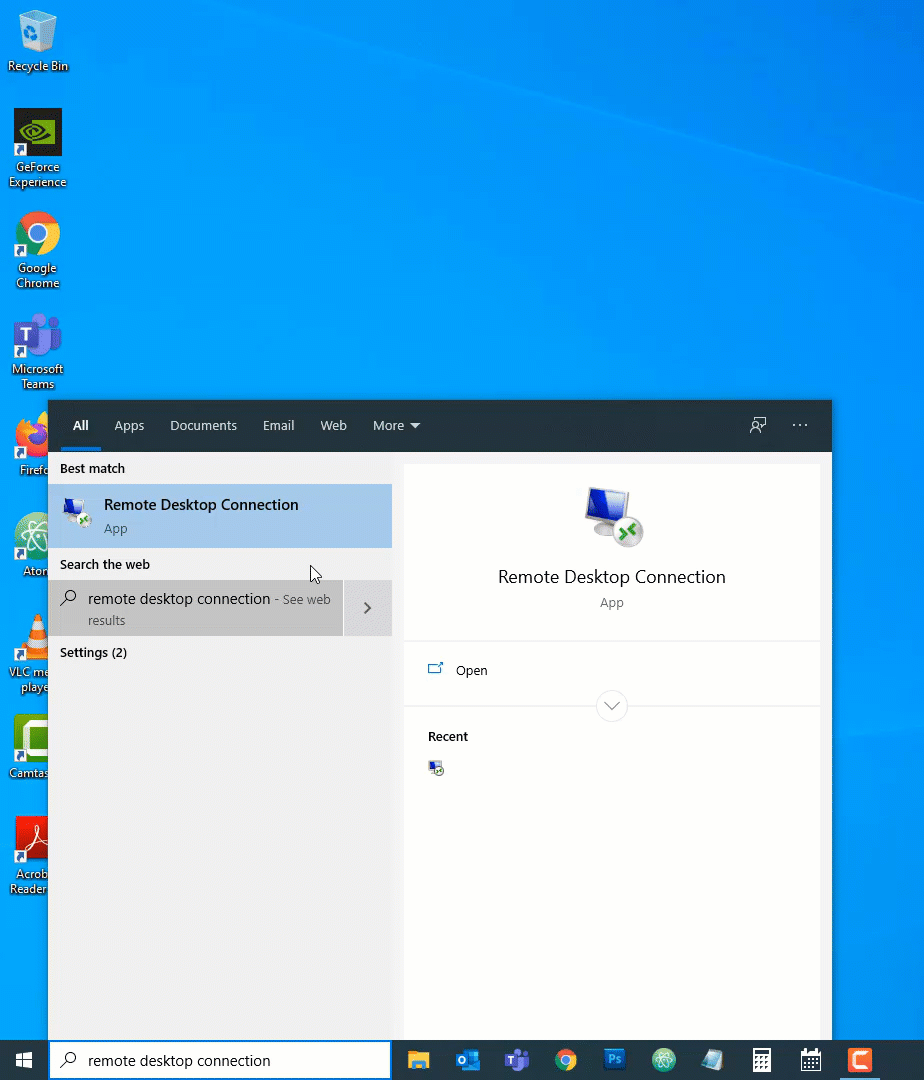
Try it: Select Search > Remote Desktop Connection,
In the results, select the option “Remote Desktop Connection.”
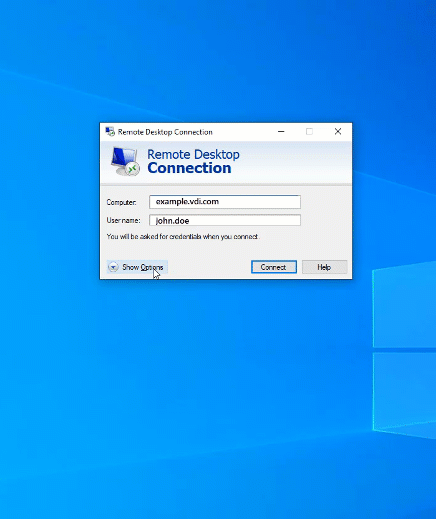
Expand the “Show Options” menu on the pop-up.
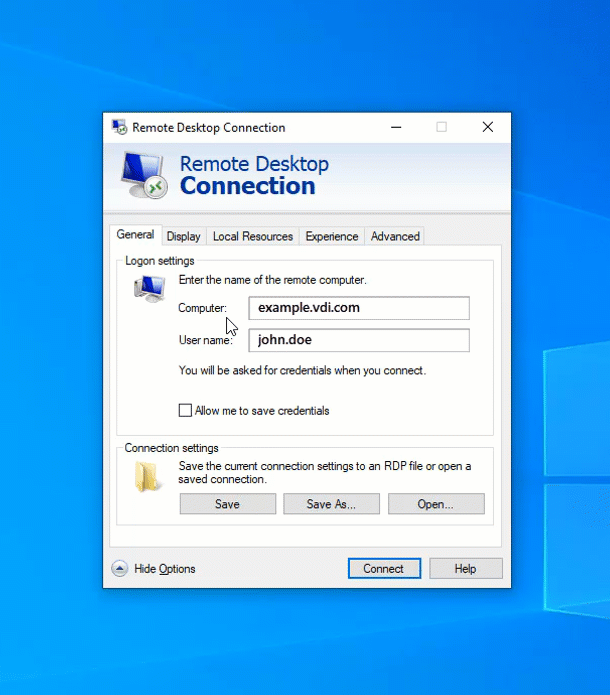
Click on the “Local Resources” tab.
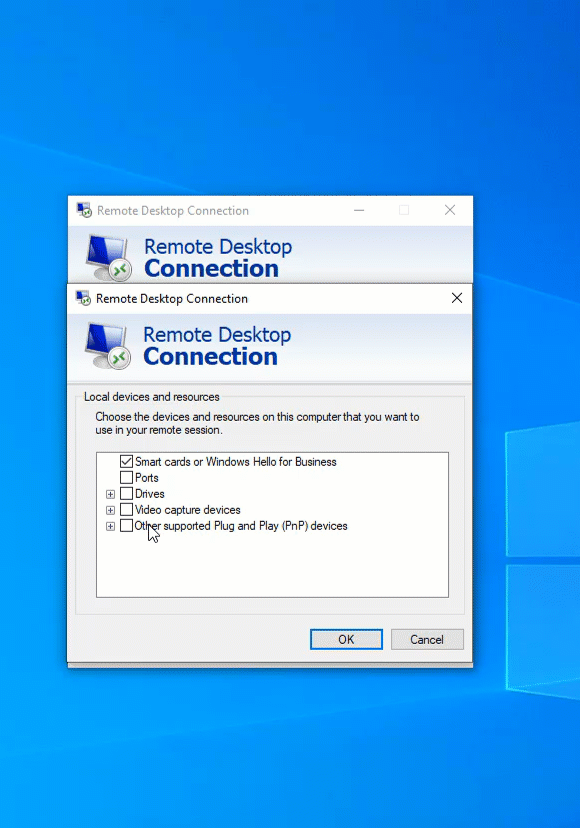
Click on “More”.
Expand the “Drives” option and select the Drive to be mapped to the Virtual Desktop and click “OK”.
Return to the “General” tab and click on “Save” and “Connect”.

Open Windows File Explorer on the Remote Desktop by right-clicking Start menu button and clicking File Explorer.
The shared drive will be visible under the Redirected drives and folders subsection.

Congratulations!
You have set up your local drive on the Virtual Desktop. You can access its data anywhere, anytime.
Still, facing problems? Contact the support team for assistance.